Installing carpet yourself can be a daunting yet rewarding task. How to install carpet correctly? Imagine transforming your room from bare to cozy with just a few tools and steps.
This guide will walk you through everything from preparation to the finishing touches. Mastering carpet installation can save you money, whether updating your living space or just wanting a new look. Additionally, it can give you a profound sense of accomplishment.
Essential Steps for Carpet Installation
How to Install Carpet | Understanding the Scope of Your Project
Begin your carpet installation project by assessing the size of the room and the type of carpet suitable for your space. This planning phase helps determine the needed materials, reduces waste, and ensures you have all the necessary supplies.
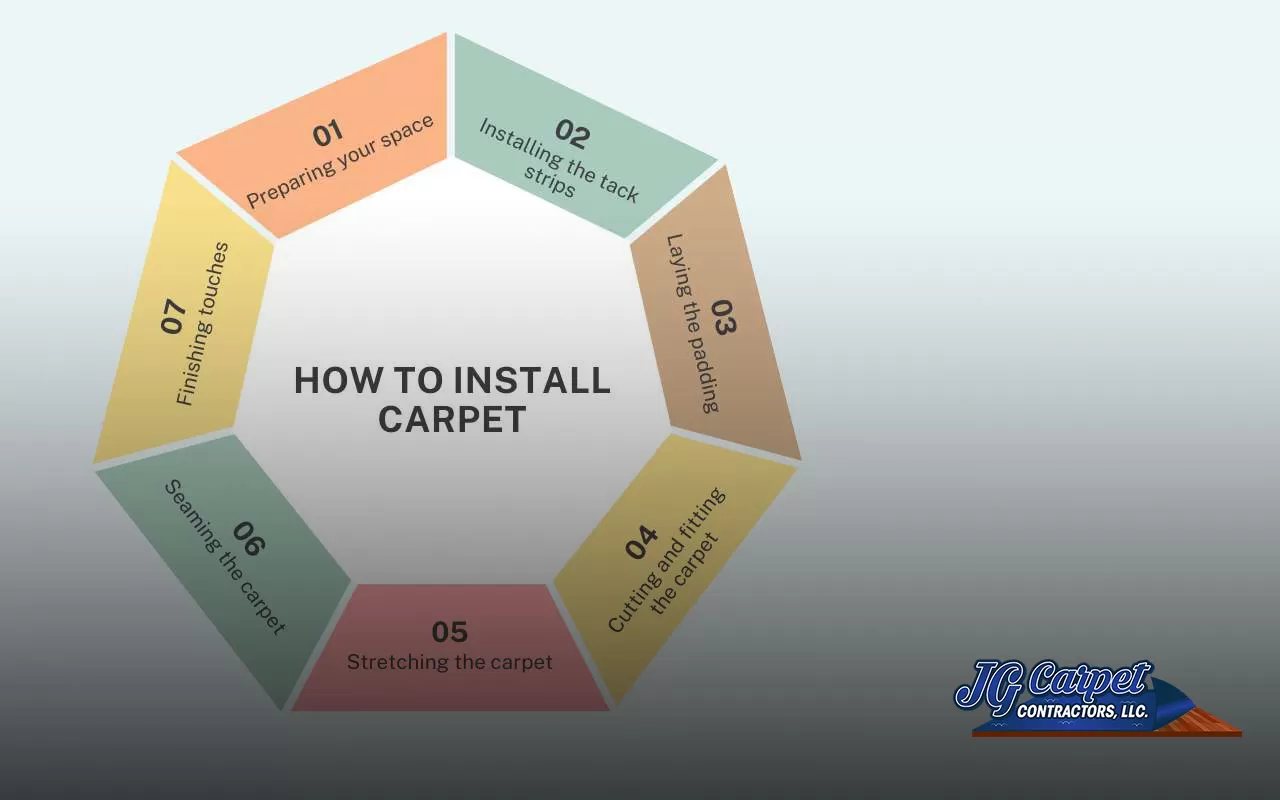
Preparing Your Space

Remove all furniture and existing flooring to clear the room. Thoroughly clean and inspect the subfloor for damages or uneven areas. Repair any imperfections to ensure a smooth installation. A clean, level subfloor is key to the success of your project.
Moreover, buying a little extra carpet is advisable to account for mistakes or adjustments during installation. Measure the room at its longest and widest points, and consider doorways and closets in your calculations.
Tools and Materials Needed
Gather all essential tools and materials for the job:
- Carpet and underpad
- Tack strips
- Knee kicker and carpet stretcher
- Utility knife
- Staple gun
- Hammer
- Measuring tape
- Seam cutter
- Seaming tape and iron
Having the right tools at your disposal will facilitate a smooth installation process.
Installing the Tack Strips
Install tack strips around the perimeter of the room, leaving a small gap between the wall and the strips. This gap is crucial for tucking the edges of the carpet later in the process. Secure the tack strips firmly to the subfloor, especially in high-traffic areas and doorways.
Laying the Padding
Roll out the padding and trim it to fit inside the tack strips. Staple the padding down along its edges and at seams, ensuring it lies flat and even. Do not overlap the padding, which can create bumps under the carpet.
Cutting and Fitting the Carpet
Lay the carpet over the area, allowing a few inches of excess on all sides. Use a utility knife to trim the carpet, making sure to leave enough material to reach the tack strips and to be tucked in for a clean finish.
Stretching the Carpet
Attach the carpet to the tack strips along one side using a knee kicker. Then, use a carpet stretcher to pull the carpet taut and attach it to the tack strips on the opposite side. This step is crucial for avoiding wrinkles and ensuring the carpet lies flat.
Seaming the Carpet
If your project includes multiple carpet pieces, you’ll need to seam them together. Trim the edges neatly, then use seaming tape and a seaming iron to bond the pieces together, ensuring a durable and visually pleasing seam.
Finishing Touches
Trim any excess carpet along the walls with a wall trimmer. Use a stair tool to tuck the edges of the carpet into the gap between the wall and tack strips, securing a neat and tidy finish.
Maintenance Tips
Regular vacuuming and prompt spill management are key to maintaining the appearance of your new carpet. Annual professional cleaning is recommended depending on the level of foot traffic and general wear.
Completing Your Carpet Installation
Installing your new carpet enhances both the comfort and aesthetic of your space, significantly improving your home’s environment. If you have questions about how to install carpet or need further assistance, please don’t hesitate to contact us. We’re here to ensure that your home meets your expectations.
