
Choosing the right flooring is a crucial decision in transforming any space. Whether you’re updating a room or renovating an entire house, the floor you choose can dramatically affect the look, feel, and functionality of your area. Here’s how to select the perfect flooring to meet your needs and enhance your living space.
Assess Your Needs
Before selecting a floor, consider the room’s function. High-traffic areas like living rooms and hallways need durable flooring that can withstand wear and tear, whereas bedrooms might benefit from something softer and more comfortable underfoot. Think about maintenance requirements, long-term durability, and any aesthetic preferences you have.
Explore Your Options
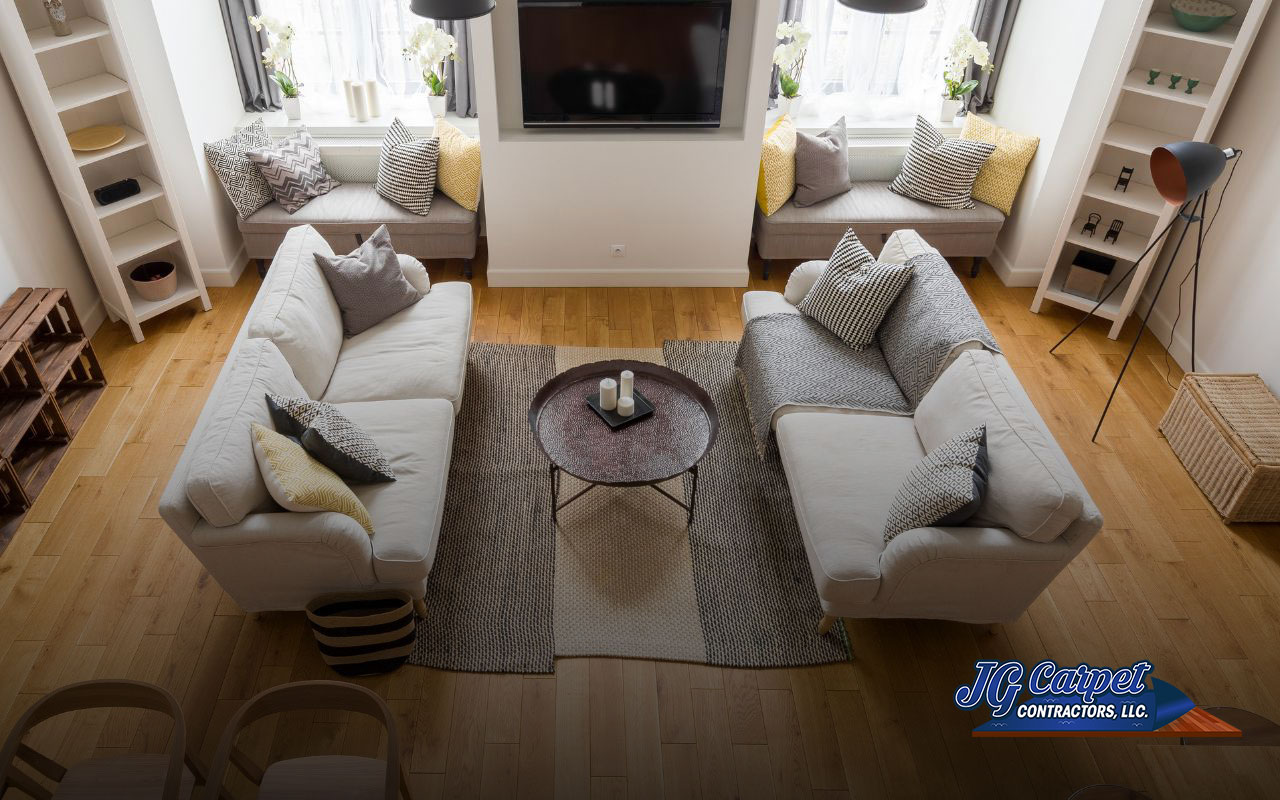
There are numerous flooring types to choose from, each offering unique benefits. Here are a few popular choices:
- Hardwood: Timeless and elegant, hardwood floors can add significant value to your home. They are durable and with proper care, can last for decades. For installation tips and care, visit our Hardwood Flooring Installation and Repair page.
- Vinyl: If you’re looking for versatility and durability, vinyl flooring is a superb choice. It’s resistant to moisture and available in a variety of designs that can mimic more expensive materials like hardwood or stone. Learn more about the benefits and installation process at our Vinyl Floor Installation page.
- Tiles: Ideal for bathrooms and kitchens, tiles are durable and resistant to moisture and stains. They come in a variety of materials, including ceramic, porcelain, and stone.
Consider Comfort and Style
Flooring can also significantly impact the comfort and style of your home. For instance, carpeting adds warmth and coziness, ideal for bedrooms and family rooms, while sleek hardwood or sophisticated marble can amplify the elegance of any space.
Visualize the Transformation
Utilize technology and in-store expertise to visualize how different floors will look in your home. Many flooring providers offer digital tools that allow you to see how certain floors will look in your space, or you can visit a flooring store in Maryland for more personalized assistance.
Think Long-Term
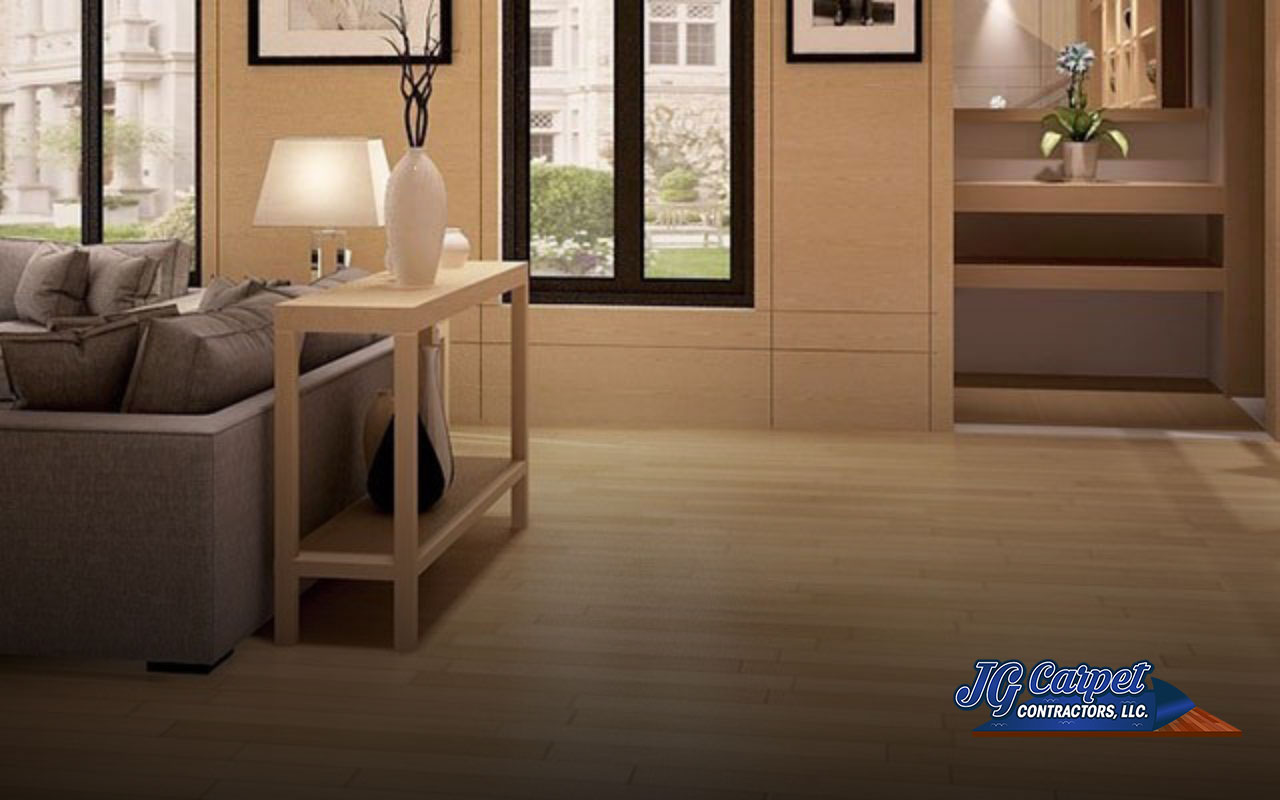
Consider the longevity of the flooring you choose. While some options might be more cost-effective upfront, they may not last as long as more durable alternatives. Think about the long-term costs of maintenance and replacement.

How to Maintain Your Hardwood Floor in Humid Climates
Maintaining the luster and longevity of hardwood floors in humid climates can be a challenge, yet with the right approach, it’s entirely achievable. Hardwood floors are a timeless addition to any home or commercial space, offering warmth, elegance, and value. However, in humid climates, the excess moisture in the air can lead to wood swelling, warping, or even mold growth if not properly managed. Here are essential tips for hardwood floor maintenance in these conditions, ensuring your floors remain beautiful and durable for years to come.
Regular Cleaning
Dirt and grit can scratch the surface of hardwood floors, while spills and moisture can cause damage if not promptly addressed. Regular sweeping or vacuuming, along with the use of a damp (not wet) mop, can prevent this. Use cleaners specifically designed for hardwood floors to avoid damaging the finish.
Control Indoor Humidity
Maintaining a stable indoor humidity level between 35% and 55% is crucial. Use dehumidifiers during the wet season and humidifiers in the dry season to keep the air inside your home or commercial space within this range. This balance helps prevent the wood from expanding or contracting excessively.
Protective Measures
Place mats at entrances to minimize the dirt and moisture tracked onto the floors. Felt pads under furniture can prevent scratches, while area rugs in high-traffic zones can reduce wear. Avoid walking on hardwood floors with high heels or heavy boots.
Professional Maintenance
For deep cleaning, refinishing, or repairs, rely on professionals. JG Carpet Contractors LLC offers expert flooring installation and commercial flooring services in Baltimore, MD, including comprehensive hardwood flooring installation and repair, ensuring your investment remains in prime condition.
Avoid Excessive Water
When cleaning, remember that water is wood’s worst enemy. Never use a soaking wet mop or allow spills to sit. Promptly wipe up any moisture with a dry or slightly damp cloth.
Choosing the Right Hardwood for Humid Climates
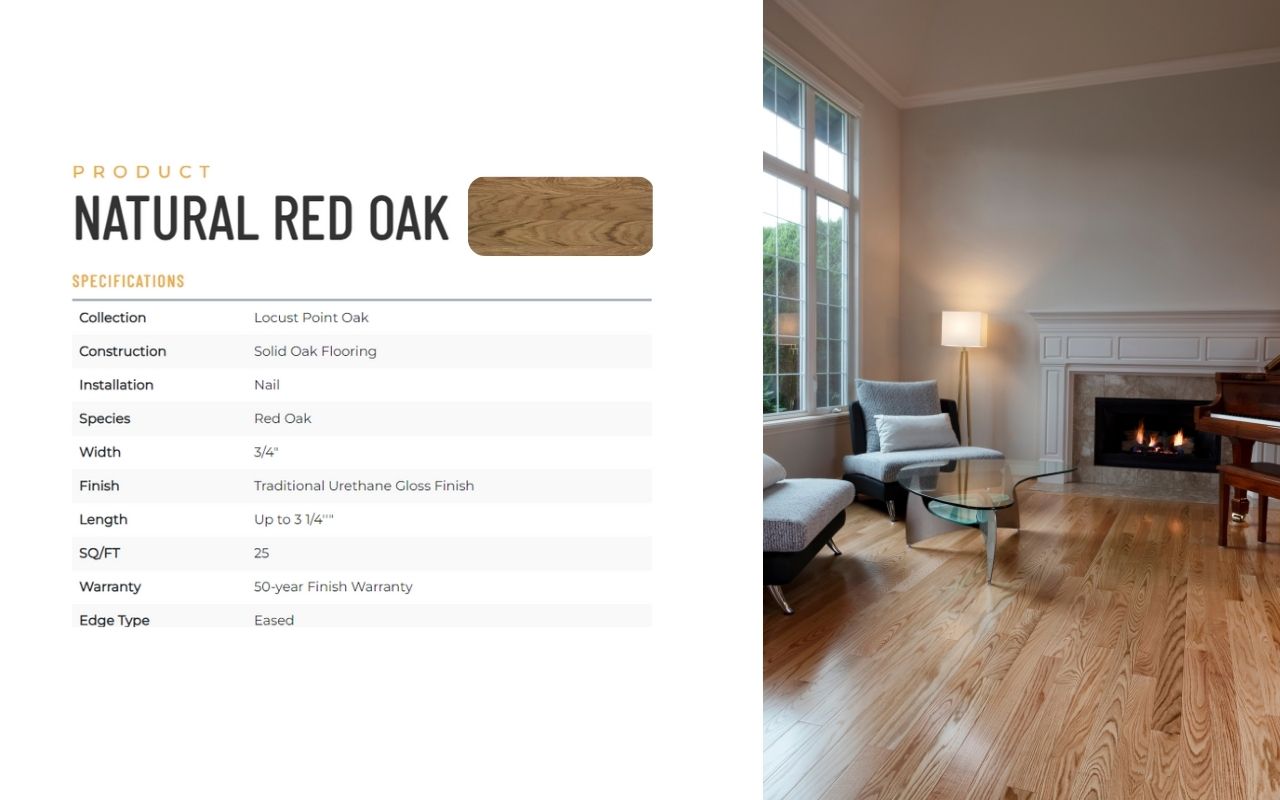
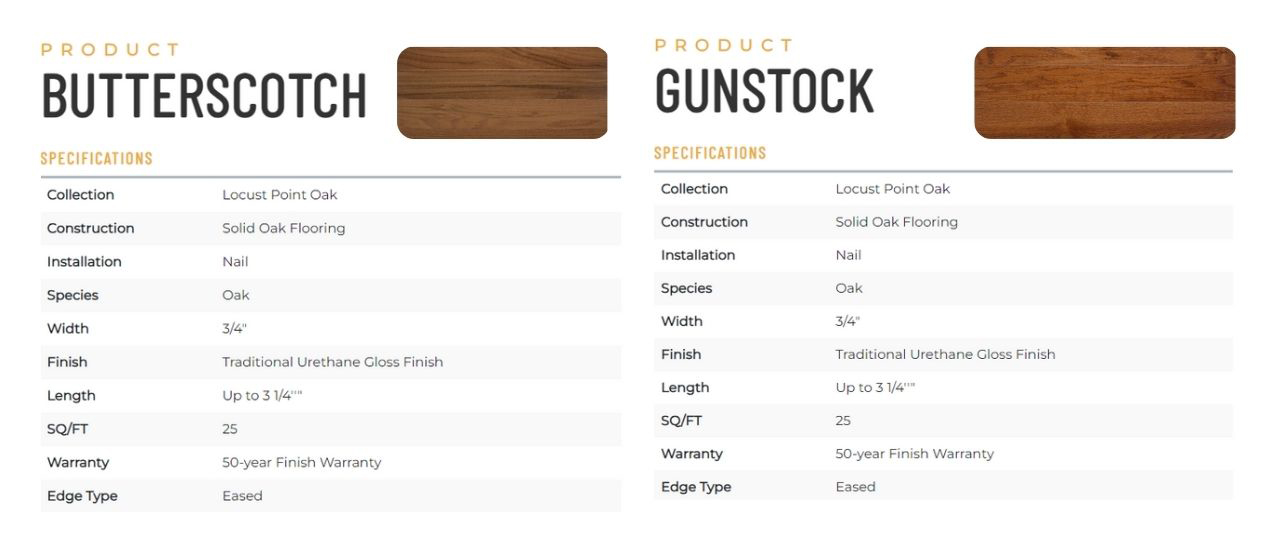
Not all hardwoods are equal when it comes to handling humidity. The Locust Point Oak collection, featuring Natural Red Oak, Gunstock, and Butterscotch, offers excellent durability and stability in humid conditions. These hardwood types are suitable for both commercial and residential installations, providing a blend of beauty and resilience that stands the test of time and climate.
Conclusion
Maintaining hardwood floors in humid climates doesn’t have to be a daunting task. With regular cleaning, humidity control, protective measures, and the right choice of hardwood, you can enjoy beautiful, durable floors for years to come. If you’re considering hardwood flooring for your home or business in Baltimore, MD, explore the range of services offered by JG Carpet Contractors LLC. Our expertise in flooring solutions ensures your space not only looks stunning but also withstands the challenges of humid environments.
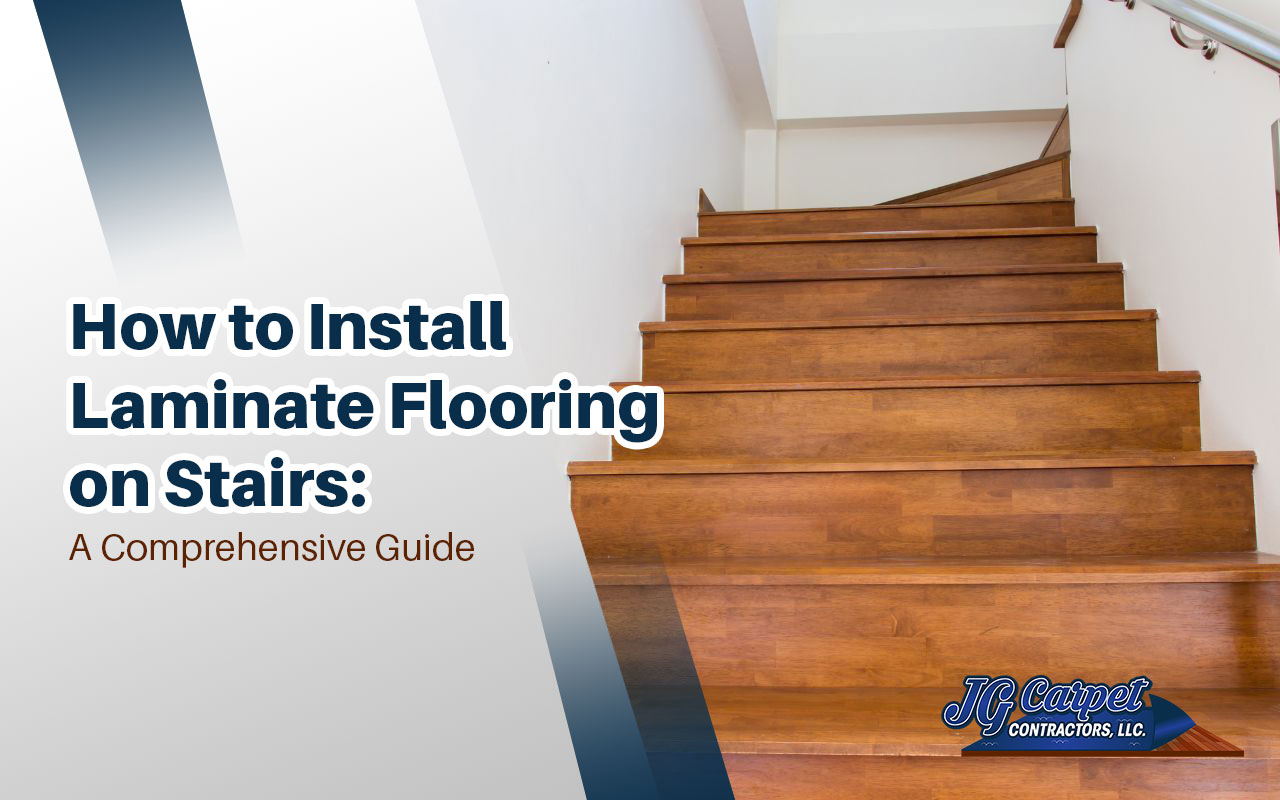
Whether you’re looking to upgrade your home or simply want a new look for your stairs, installing laminate flooring on stairs is an excellent choice. Laminate flooring is durable, low-maintenance, and comes in various styles and colors. In this guide, we will walk you through how to install laminate flooring on stairs step by step.
Table of Contents
Why Choose Laminate Flooring for Stairs.
Understanding Laminate Flooring
Materials and Tools Needed – How to Install Laminate Flooring on Stairs
Measuring and Cutting the Laminate Planks
Preparing the Stairs for Installation
Installing the Laminate Flooring
Fitting Laminate on Stair Noses
Adding Finishing Touches – How to Install Laminate Flooring on Stairs
Frequently Asked Questions (FAQs)- How to Install Laminate Flooring on Stairs
Why Choose Laminate Flooring for Stairs
Laminate flooring is a popular choice for stairs due to its durability, affordability, and ease of maintenance. It’s resistant to scratches, dents, and stains, making it perfect for high-traffic areas like staircases. Additionally, laminate flooring comes in various styles and colors, allowing you to create a customized look that complements your home’s overall design.
Understanding Laminate Flooring
Laminate flooring is a synthetic flooring product that replicates the look of hardwood, stone, or tile. It is composed of multiple layers that are fused together through a lamination process. The top layer, known as the wear layer, is a transparent protective coating that resists scratches, stains, and fading.
Underneath the wear layer, there is a decorative layer that imitates the desired flooring style. Beneath the decorative layer, there is a core layer made of high-density fiberboard (HDF) or medium-density fiberboard (MDF), providing stability and strength. The bottom layer is a backing that enhances moisture resistance.
Materials and Tools Needed – How to Install Laminate Flooring on Stairs
Before you begin the installation process, ensure you have all the necessary materials and tools. Here’s a list of what you’ll need:
- Laminate flooring planks
- Stair nosing (matching the laminate flooring)
- Underlayment (if required by the manufacturer)
- Adhesive (recommended by the flooring manufacturer)
- Tape measure
- Pencil
- Straight edge or T-square
- Circular saw or jigsaw
- Miter saw
- Hammer and nail set
- Rubber mallet
- Utility knife
- Flooring spacers
- Finishing nails or brad nailer
Measuring and Cutting the Laminate Planks
First, you’ll need to measure your stairs to determine how many laminate planks you’ll need for each step. Measure the width and depth of each tread and riser, accounting for the stair nosing. Next, cut the laminate planks to size using a circular saw or jigsaw. Be sure to follow the manufacturer’s guidelines for cutting and leave the necessary expansion gap.
Preparing the Stairs for Installation
Before installing the laminate flooring:
- Ensure that your stairs are clean, dry, and level.
- Remove any existing carpet, padding, or other flooring materials.
- Fill any holes or gaps with wood filler and sand the stairs smoothly. If your laminate flooring requires an underlayment, cut and install it according to the manufacturer’s instructions.
Installing the Underlayment
The underlayment provides cushioning, reduces noise, and protects the laminate flooring. Follow these steps to install the underlayment:
- Clean the staircase surface to ensure it is free of dirt and debris.
- Roll out the underlayment material and cut it to fit the dimensions of each stair tread.
- Lay the underlayment on each stair tread, ensuring it covers the entire surface.
- Secure the underlayment using construction adhesive or staples, following the manufacturer’s instructions.
Installing the Laminate Flooring
Start at the bottom of the staircase and work your way up. Apply adhesive to the back of the laminate plank, following the manufacturer’s recommendations. Place the plank on the stair tread, ensuring it’s properly aligned, and use a rubber mallet to secure it in place. Install the stair nosing along the front edge of the tread, nailing or gluing it according to the manufacturer’s guidelines.
Next, install the laminate plank on the riser, following the same process as for the tread. Use flooring spacers to maintain the proper expansion gap between the planks and the wall.
Repeat this process for each step until you’ve installed laminate flooring on all your stairs.
Fitting Laminate on Stair Noses
To create a finished look and ensure safety, you need to fit laminate on stair noses. Follow these steps:
- Measure and cut the stair nosing to the width of each stair tread.
- Apply construction adhesive on the stair nosing and press it firmly onto the edge of the laminate plank.
- Use finishing nails to secure the nosing in place.
- Repeat the process for each stair nose.
Adding Finishing Touches – How to Install Laminate Flooring on Stairs
To complete the installation, add finishing touches to your laminate flooring on stairs:
- Install transition moldings between the laminate flooring on stairs and other floor surfaces.
- Use T-moldings to transition between two laminate floors on different levels.
- Install reducer moldings to transition between laminate flooring on stairs and lower surfaces, such as vinyl or carpet.
- Use quarter-round moldings to cover the gaps along the walls.
- Fill any nail holes or gaps with wood putty and smooth the surface.
- Clean the laminate flooring on the stairs to remove any dust or debris.
Frequently Asked Questions (FAQs)- How to Install Laminate Flooring on Stairs
FAQ 1: Can I install laminate flooring on existing carpeted stairs?
Yes, you can install laminate flooring on existing carpeted stairs. However, you need to remove the carpet and prepare the stairs properly before installing the laminate.
FAQ 2: Do I need to use an underlayment for laminate flooring on stairs?
Using an underlayment is highly recommended for laminate flooring on stairs. It provides cushioning, reduces noise, and helps to prevent moisture-related issues.
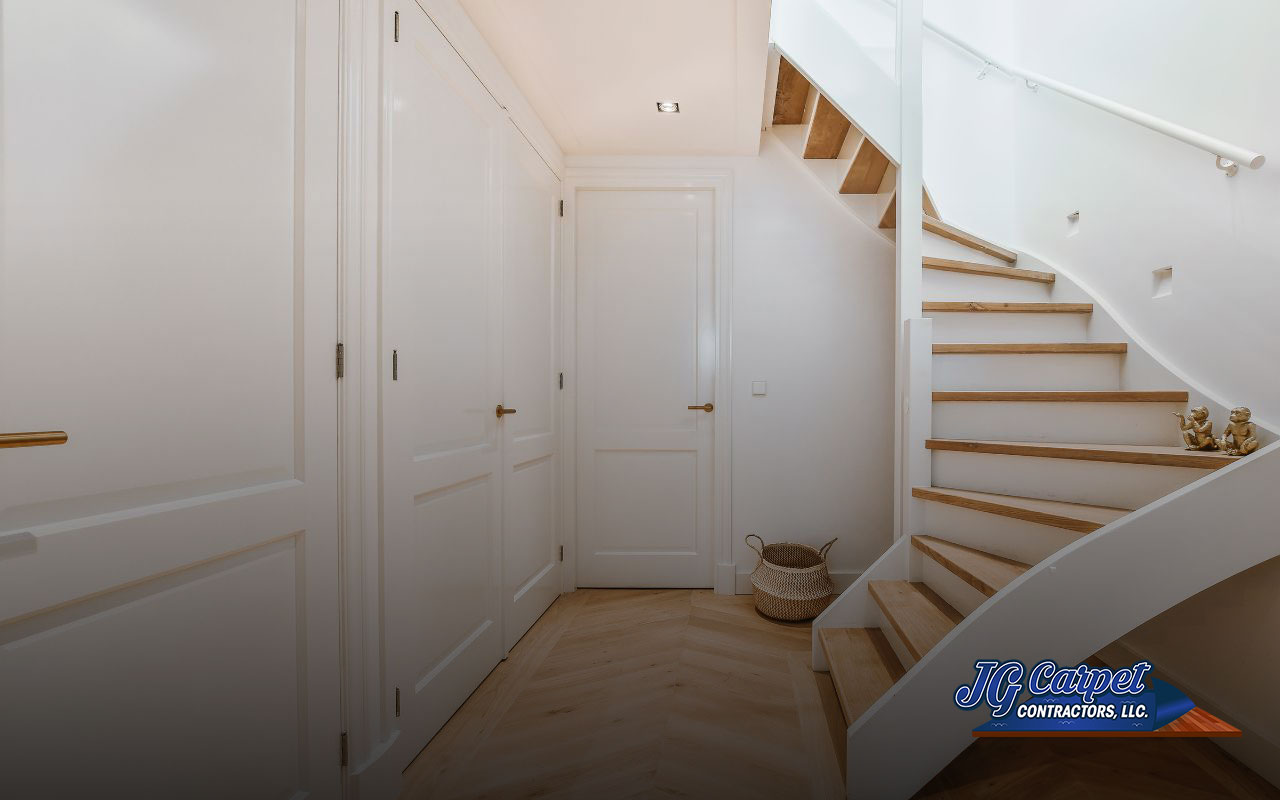
FAQ 3: Can I install laminate flooring on curved stairs?
Yes, you can install laminate flooring on curved stairs. However, it requires more precision and expertise. Consider seeking professional help for curved stairs.
FAQ 4: How do I clean laminate flooring on stairs?
To clean laminate flooring on stairs, use a microfiber mop or a soft brush attachment on a vacuum cleaner. Avoid using excessive water or harsh cleaning products.
FAQ 5: Is laminate flooring on stairs slippery?
Laminate flooring on stairs can be slippery, especially when wet. To enhance safety, consider using anti-slip strips or rugs on the stairs.
FAQ 6: How long does installing laminate flooring on stairs take?
The installation time for laminate flooring on stairs depends on various factors, such as the number of stairs, the complexity of the staircase, and your experience level. On average, it can take a few hours to a day.
Wrapping Up: Enjoy Your Beautiful New Laminate Staircase
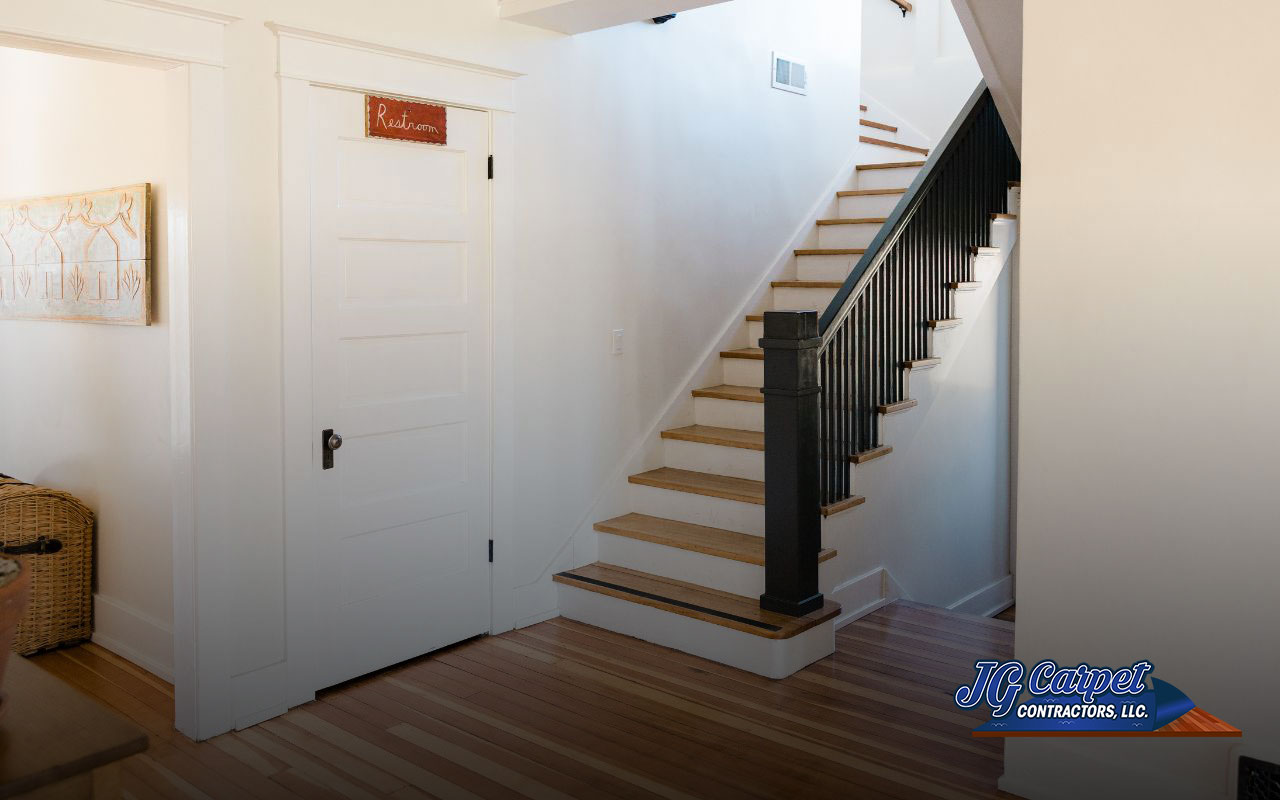
Installing laminate flooring on stairs is a cost-effective way to give your staircase a fresh, updated look. By following these steps and using the suitable materials and tools, you can successfully complete this project and enjoy the beauty and durability of your new laminate stairs. And remember, if you ever need professional help, the experts at JG Carpet Contractors, LLC are always here to assist you.
